Mailchimp is a versatile platform designed to help businesses manage their email marketing efforts with ease. Whether you’re new to email marketing or looking to refine your strategy, Mailchimp offers a straightforward setup process and a range of tools to support your goals. For more ways to optimize your campaigns, check out these Mailchimp tips to improve your email marketing strategy.
Create Your Mailchimp Account
When you create a Mailchimp account, you agree to the terms of service and anti-spam rules. Adhering to these principles contributes to a positive sending reputation and maintains your account in good standing.
Steps to create your account:
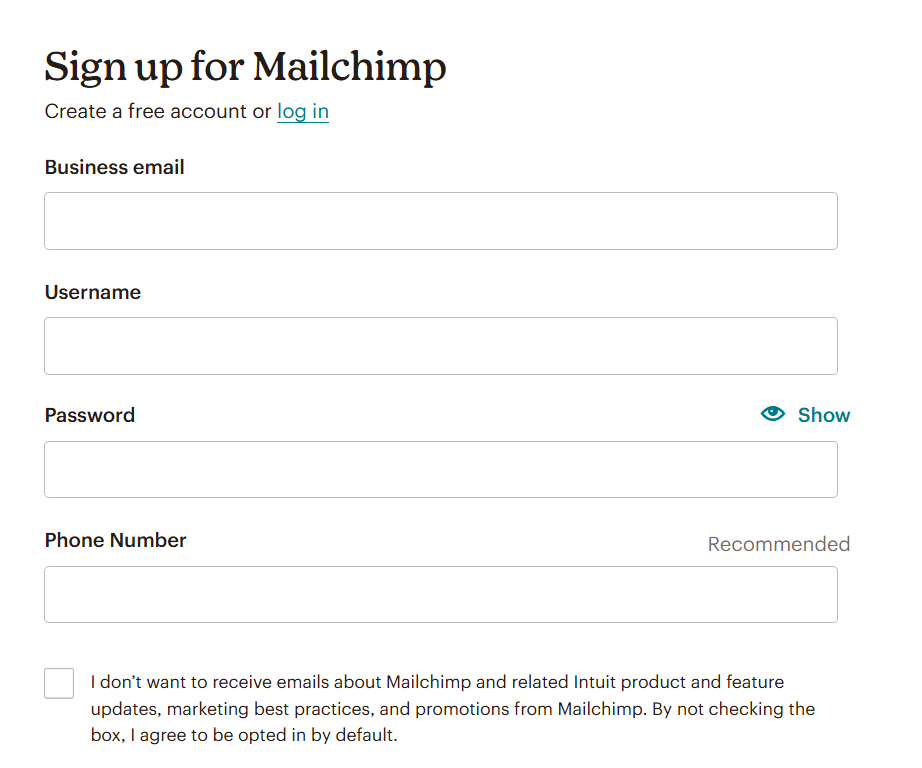
- Go to Mailchimp’s signup page;
- Enter your Email and Password, then click Sign Up;
- A confirmation message will appear. Check your inbox for the activation email;
- Open the activation email and click Activate Account to complete the setup.
The activation email may take a few minutes. If it’s not in your inbox, check your spam folder or review Mailchimp’s troubleshooting guide. Role-based emails like [email protected] or [email protected] aren’t accepted.
Signup Process
When entering into a Mailchimp account for the first time, specific information is requested to guarantee compliance with the platform’s Terms of Use and to personalize relevant features and recommendations to company needs.
During the sign-up procedure, the following details are required:
- Name: This refers to the name linked to the account profile. Each profile is unique and can access multiple Mailchimp accounts;
- Business Name: The official name of the company or organization. This name will appear on all outgoing emails, along with the registered mailing address;
- Phone Number (Optional): A mobile number can be added for additional security measures, including account verification, recovery, and two-factor authentication;
- Physical Address: A valid mailing address is mandatory by law for all emails sent. This can be a personal address, business address, or a P.O. Box;
- Organization Details: Information about the organization helps tailor content and features to suit specific business requirements;
- Website URL: Providing a website URL enables Mailchimp to assist in creating brand-aligned content automatically.
Once all required information is entered, follow the on-screen instructions to complete the activation process and start using the Mailchimp account.
Building Your Audience in Mailchimp
A great marketing campaign begins with a well-maintained, up-to-date contact list—your target audience. When you create your Mailchimp account, an audience is automatically generated based on your basic setup information. You may change the default information as required or start adding contacts straight away.
Mailchimp is built to function efficiently with a single audience, and it includes a number of management features to assist you in organizing and segmenting your contacts. If you decide to create additional audiences, bear in mind that data is not shared between them, and contacts appearing in various audiences will count individually against your subscriber limit.
Personalize Your Signup Form
Mailchimp automatically creates a signup form for your audience if you don’t currently have connections. You may alter this form’s appearance to reflect your brand and post it on your Facebook page or website.
Follow these steps to customize your signup form:
- After selecting Audience, select Audience dashboard;
- If you have multiple audiences, use the Audience drop-down to select the one you want to edit;
- Click Manage Audience, then select Signup forms;
- Find the Form builder tile and click Manage forms;
- Open the Forms and response emails drop-down and select the form you want to customize;
- Click the Design it tab;
- Go through the Page, Body, or Forms tabs to explore customization options. Adjust styles, colors, and fields using the available tools—your changes will be saved automatically.
With these options, you can create a signup form that perfectly matches your brand and starts growing your audience right away.
How to Create a Regular Email
- Click the Create icon;
- Select Email, then choose Regular;
- Enter an internal name for your email and click Begin.
Mailchimp provides a variety of customization choices, making email design both adaptable and interesting. To make the process easier, spend some time examining the tools and planning your email content ahead of time. With experience, writing emails will become second nature.
Track Your Email Performance
Sending your email is only the beginning. Monitoring audience involvement is crucial for refining your marketing strategy and tailoring future emails based on your subscribers’ choices.
When you return to Mailchimp after sending an email, your Dashboard will provide key performance data such as open rates, clicks, and unsubscribes. Click Reports to view full analytics, download data, or share an email report.
Mailchimp’s tracking capabilities show details such as how many individuals read your email, which links they visited, and even their geographical location. Connecting your Google Analytics account will provide you with a more comprehensive insight of the impact of your campaign.
Explore More Mailchimp Features
Once you’re familiar with the basics, explore Mailchimp’s advanced features to improve your marketing capabilities and achieve better results.
Customer Journeys
Customer Journeys, a tool for creating dynamic, automated journeys customized for each interaction, will help you improve your email marketing. To provide each subscriber with a unique experience, create customized paths with several beginning places, branching alternatives, and targeted activities.
Ads
Extend your reach by running ads directly through Mailchimp—without extra fees. Tap into Google’s vast audience to target ideal customers, similar profiles, or even people interested in your products who haven’t subscribed to your emails yet.
Landing Pages
Design eye-catching landing pages to grow your audience or promote specific products. Share these pages across social media and other channels to drive traffic and achieve targeted marketing goals, whether for events, sales, or lead generation.
Mobile Apps
Stay connected on the go with Mailchimp for iOS or Android. This free app lets you manage your account, track subscriber engagement, monitor campaign performance, and add new contacts—all from your mobile device.
Developer Tools
For more experienced users, Mailchimp provides API 3.0 for integrating customized apps and increasing your functionality. Data may be sent between developers’ apps and Mailchimp via the API, allowing for more sophisticated customization, automation, and improved functionality.
Conclusion
Mailchimp provides a range of features to help manage email marketing more efficiently. It covers everything from setting up an account and growing an audience to creating emails and tracking results. The platform also includes tools like Customer Journeys, ads, and analytics to support different marketing needs. Whether for small businesses or larger organizations, Mailchimp offers straightforward solutions to organize campaigns, reach audiences, and improve performance over time.